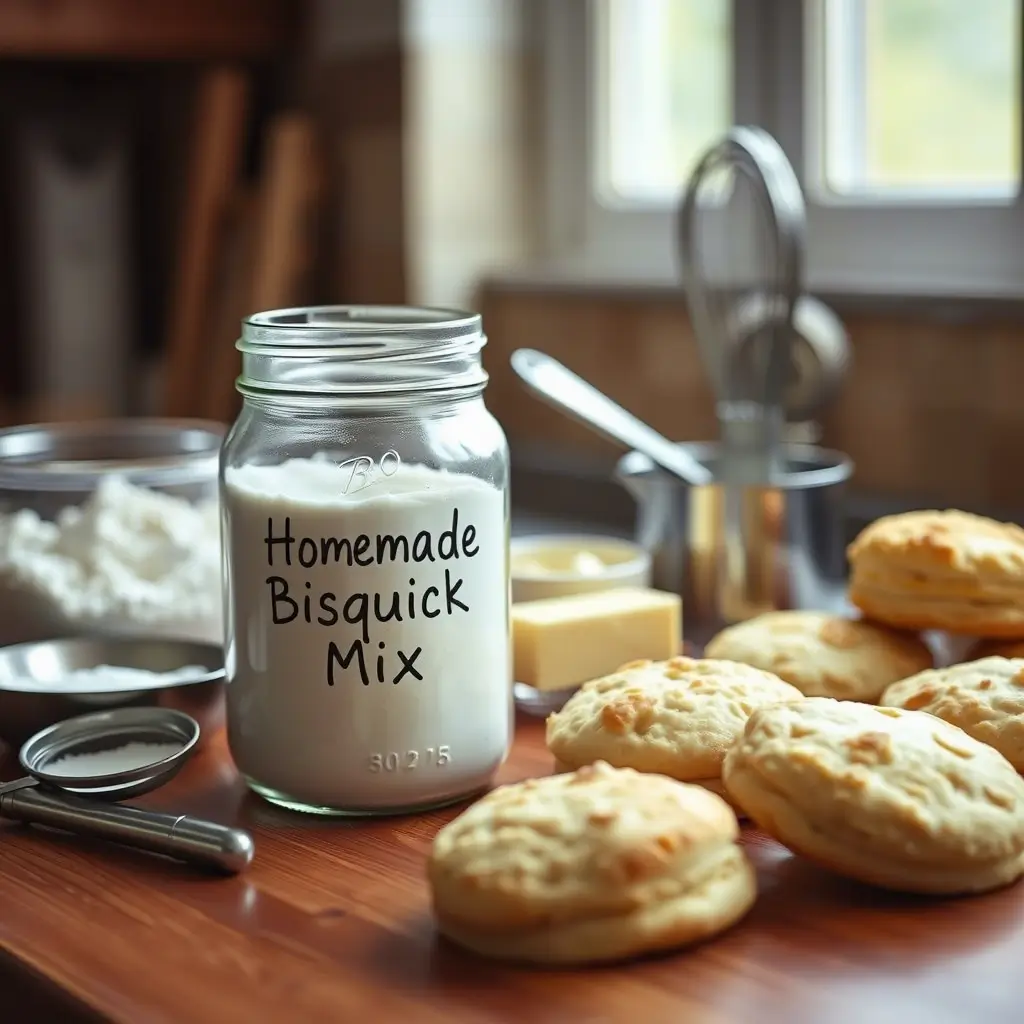
If you’ve ever used boxed pancake or biscuit mix, then you’ve probably used Bisquick. But did you know you can make your own? A Homemade Bisquick Recipe is fast, convenient, and super handy to keep in your kitchen. It saves time and money—and it even tastes better than the store-bought kind!
Making a Homemade Bisquick Recipe is great for people who want to know what’s going into their food. No weird ingredients you can’t pronounce—just clean, simple foods from your pantry.
Ready to shake things up? Let’s get into how to make your own baking mix in just five easy steps.
What Is Bisquick and Why Go Homemade?
Bisquick is a baking mix that has been around since the 1930s. It was made to help people bake faster and easier. Most people use it for pancakes, biscuits, waffles, and even casseroles.
A Homemade Bisquick Recipe gives you the same great results but with more control over what goes in. It’s fresher, cheaper, and easy to tweak for gluten-free, dairy-free, or other special diets.
Benefits of going homemade:
- No preservatives or chemicals
- You can customize for health or taste
- It’s budget-friendly
- It tastes better and fresher
Ingredients You’ll Need for This Homemade Bisquick Recipe
Pantry Staples You Already Have
You don’t need anything fancy to make your own Homemade Bisquick Recipe. You likely have these items in your kitchen already:
- 6 cups all-purpose flour
- 3 tablespoons baking powder
- 1 tablespoon salt
- 1 cup cold butter or shortening
Substitutions and Dietary Adjustments
Want to adjust for allergies or diets? No problem!
- Use gluten-free flour instead of regular flour
- Try vegan butter for a dairy-free version
- Swap in coconut oil for a plant-based fat
Pro Tip: If you’re looking for more ingredient guides, check out our posts on [healthy flour swaps] and [vegan baking basics].
Homemade Bisquick Recipe: 5 Easy Steps
Making your own baking mix takes just a few minutes. Here’s how:
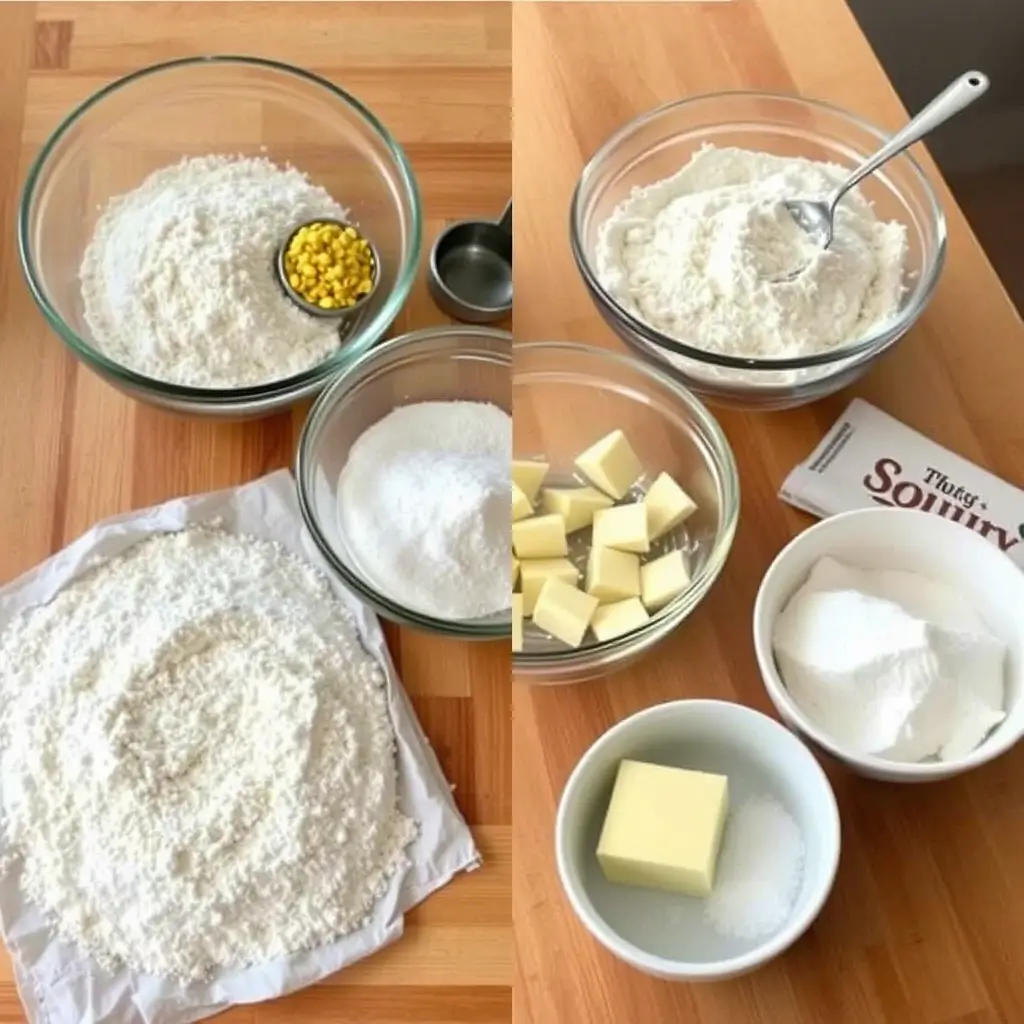
Step 1 – Measure the Dry Ingredients
In a large bowl, combine:
- 6 cups all-purpose flour
- 3 tablespoons baking powder
- 1 tablespoon salt
Mix well to make sure everything is evenly distributed.
Step 2 – Add Fat (Shortening or Butter)
Cut in 1 cup of cold butter or shortening. Use a fork or a pastry cutter. Your mix should look like small crumbs.
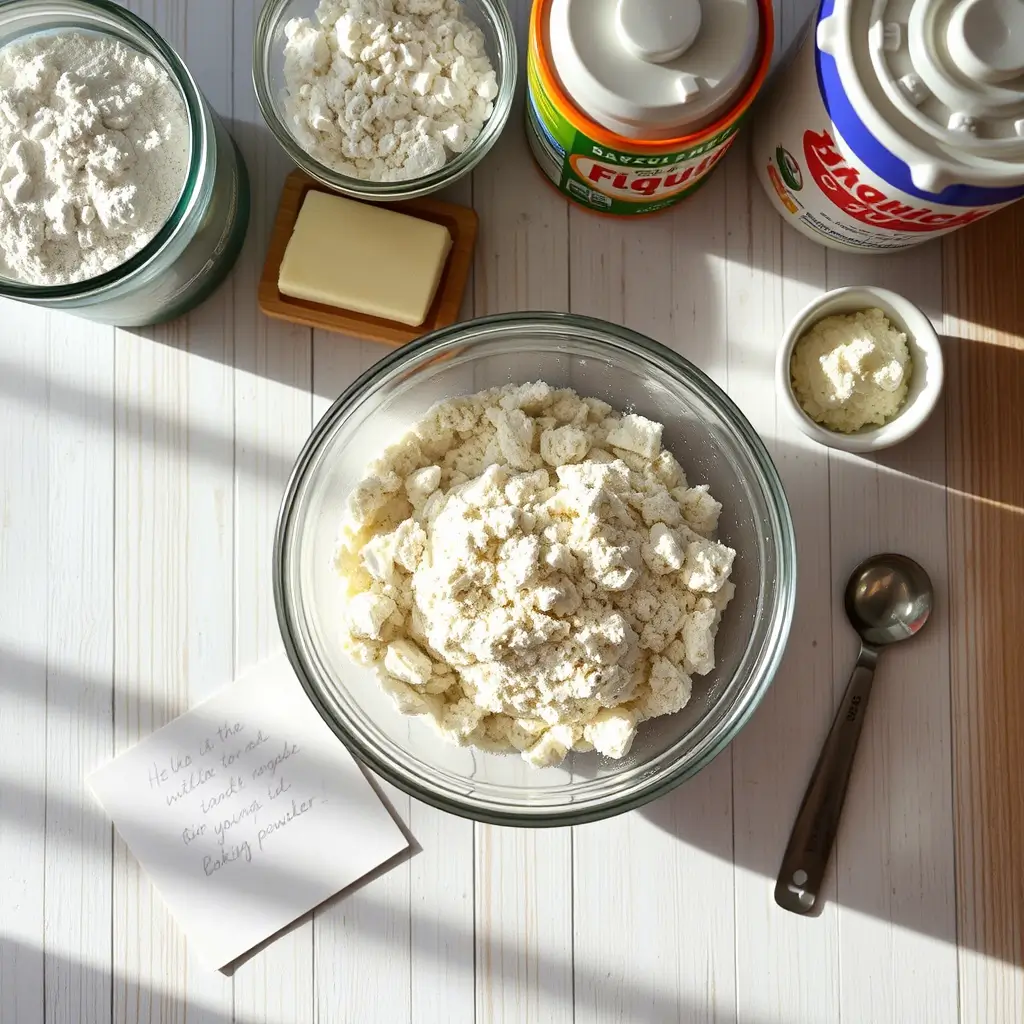
Step 3 – Mix Until Crumbly Texture Forms
Keep mixing gently. You want the texture to stay dry and crumbly—not wet or sticky.
Step 4 – Store Properly in an Airtight Container
Transfer your Homemade Bisquick Recipe mix to a glass jar or airtight plastic container. Store it in a cool, dry place like your pantry.
Step 5 – Use in Your Favorite Recipes
Now that your mix is ready, use it anytime you need it! Pancakes, waffles, biscuits, or dumplings—it works in all your favorites.
Storage Tips for Your Homemade Bisquick Recipe
Want your mix to last? Here’s how to keep it fresh:
- In the pantry: lasts 2–3 months
- In the fridge: lasts 4–5 months
- In the freezer: up to 3 months in a sealed bag
- Use airtight containers to keep moisture out
- Toss it if it smells weird or changes color
7 Delicious Ways to Use Your Homemade Bisquick Recipe
There are so many yummy ways to use your homemade mix! Here are some ideas:
- Fluffy pancakes
- Crispy waffles
- Cheddar biscuits
- Chicken and dumplings
- Sausage balls
- Breakfast casseroles
- Pot pie topping
Bonus Tip: Add herbs, garlic, or cheese to the mix before baking for extra flavor.
Check out our full recipes for [fluffy pancakes] or [easy sausage balls] using this mix!
Common Mistakes to Avoid
Even an easy Homemade Bisquick Recipe can go wrong if you’re not careful. Avoid these mistakes:
- Using soft or melted butter – Your mix won’t be crumbly.
- Overmixing – Makes your biscuits tough.
- Storing it wrong – Always use a sealed container.
- Using old baking powder – Your mix won’t rise well.
Final Thoughts on Making a Homemade Bisquick Recipe
A Homemade Bisquick Recipe is a smart, simple way to level up your cooking. You save money, avoid weird ingredients, and enjoy fresher, tastier results. Plus, it’s great for meal prepping and gifting to friends!
Give it a try—you’ll love how easy and useful it is.
FAQs About Homemade Bisquick Recipe
Can I freeze Homemade Bisquick?
Yes! Place it in a freezer-safe bag or container and use within 3 months.
Is it healthier than store-bought?
Yes. You control the ingredients, so there are no unwanted additives.
Can I use it in all Bisquick recipes?
You sure can! Swap it 1:1 in most recipes.
What’s the shelf life?
About 2–3 months in the pantry, 4–5 months in the fridge, and longer if frozen.
Looking for a delicious breakfast option? Brownie-Stuffed Cookies—light, fluffy, and perfect for anyone avoiding gluten!
Related Recipe :

Mushroom Recipes: Why These 10 Are So Popular Right Now

Chocolate Chip Cookie Recipe: 5 Reasons It’s the Best Ever

Glazed Donuts Recipe: 5 Reasons It’s the Best Homemade Treat
sponge Cake recipe : 5 Reasons It’s the Best Base for Any Cake

Chicken Breast and Rice Recipes: 7 One-Pan Dinners Ready in 30 Minutes