Grape juice jelly recipe magic begins here! Ever wonder why store-bought grape jelly tastes bland or overly sweet? You’re not alone. That flat, one-note flavor is why so many home cooks are rediscovering the joy of homemade. Our version solves everything with just 3 simple pantry staples (no fancy skills needed!)—unlocking deep, rich flavor that makes toast, biscuits, or cheese boards truly shine. Forget artificial aftertastes: this easy method delivers vibrant, real grape taste with a silky-smooth texture every single time. Ready for your jars to become the star of the kitchen? Let’s reveal the secrets…
🍇 Why This Grape Juice Jelly Recipe Beats Store-Bought
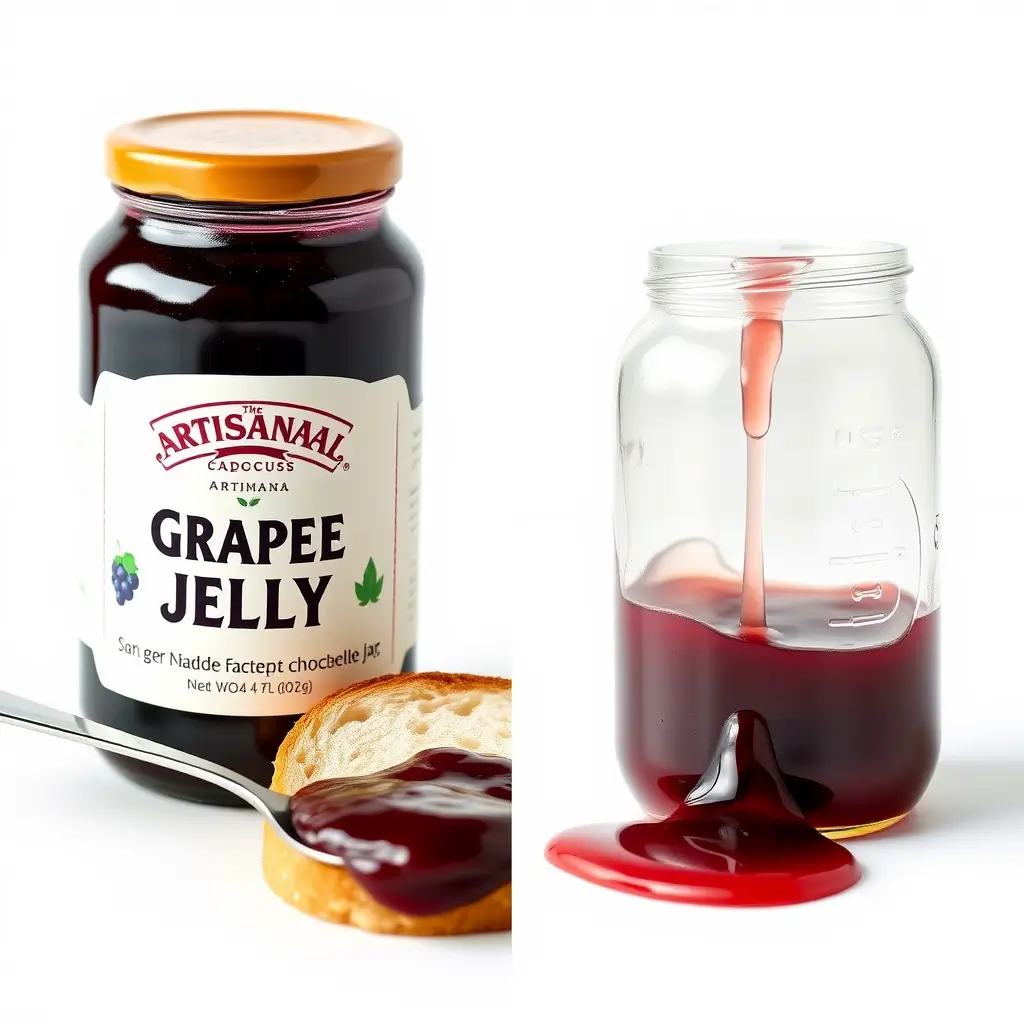
Store-bought grape jelly often tastes flat or too sweet. Why? It’s packed with fake flavors and extra sugar. But this grape juice jelly recipe uses 3 secret ingredients to create rich, balanced flavor you’ll love. Homemade jelly costs less, has no weird additives, and tastes like real grapes. Plus, those “secrets” add magic depth—no fancy skills needed!
The 3 Secret Ingredients Unveiled
1: Fresh Lemon Juice
A splash of lemon juice brightens the grapes’ natural sweetness and helps the jelly set perfectly. The acid balances sugar so your jelly isn’t cloying.
2: Cinnamon Stick
Simmering a cinnamon stick with the juice adds cozy warmth (not spice!). It deepens the flavor, making your jelly taste like expensive artisan spreads.
3: A Pat of Butter
Butter? Yes! It reduces foaming while boiling and gives your jelly a silky-smooth texture. No more gritty or rubbery jelly!
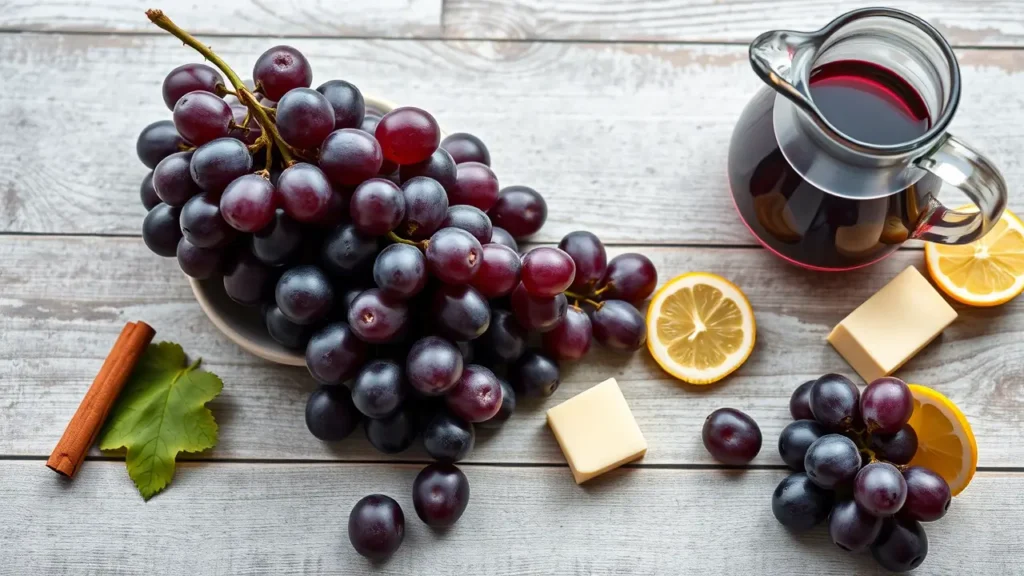
Your Complete Grape Juice Jelly Recipe Ingredients
Core Components
- 4 cups 100% grape juice (no sugar added!)
- 3 cups granulated sugar
- 1 box (1.75 oz) fruit pectin
The Secret Trio
- 2 tbsp fresh lemon juice
- 1 cinnamon stick
- 1 tsp unsalted butter
Slather your warm gluten-free banana bread with this homemade grape jelly for a sweet-tart flavor boost that’ll make every bite irresistible!
Equipment Checklist for Fail-Proof Jelly
Essential Tools
- Heavy 6-qt pot (prevents scorching)
- 6 half-pint jars with lids
- Candy thermometer
- Canning funnel & ladle
Pro Upgrade (Optional)
- pH test strips (jelly sets best at pH 3–3.4)
Step-by-Step Grape Juice Jelly Instructions
Step 1: Prep & Sterilize
Wash jars and lids in hot soapy water. Submerge jars in a pot of boiling water for 10 mins. Simmer lids separately.
Step 2: Juice & Secret Mix
In your heavy pot, combine grape juice, lemon juice, and cinnamon stick. Simmer 5 minutes. Remove cinnamon stick.
Step 3: Sugar & Set
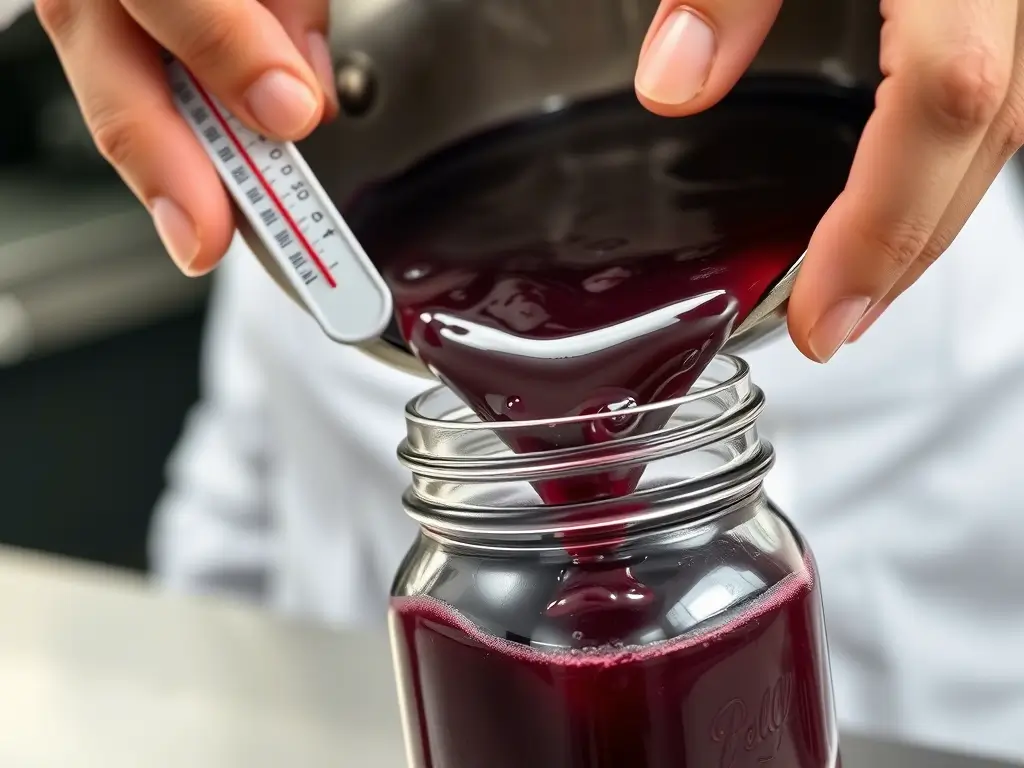
Stir in pectin until dissolved. Add sugar and butter. Boil hard 1 minute (220°F/104°C on thermometer). Skim off foam.
Step 4: Jar & Seal
Ladle hot jelly into jars using a funnel. Wipe rims, seal lids, and process in a water bath for 10 mins. Cool undisturbed for 24 hours.
Expert Tips for Flawless Jelly Every Time
✅ Avoid Crystallization: Stir gently but constantly when adding sugar. Don’t reduce sugar—it helps set the jelly!
✅ Flavor Twists: Add orange zest or a pinch of cloves with the cinnamon stick.
✅ Fixing Runny Jelly: Reprocess with 2 tbsp pectin + ¼ cup sugar (reboil 1 min).
Storing & Serving Your Homemade Jelly
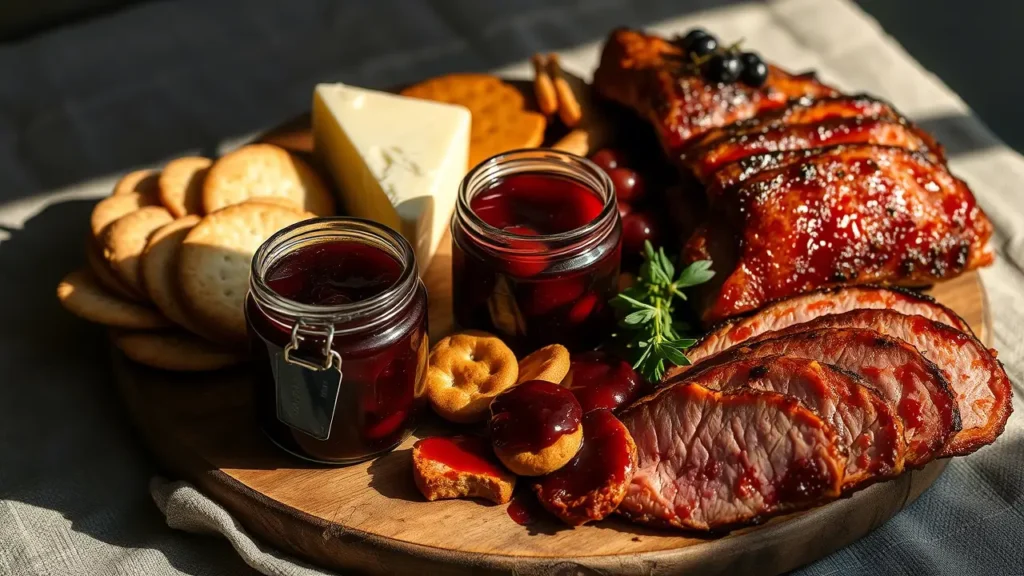
Your jelly lasts 12–18 months in a cool, dark pantry. Once opened, refrigerate and use within 3 months. Beyond toast:
- Glaze roasted chicken or pork
- Swirl into oatmeal or yogurt
- Gift in pretty jars with ribbon!
FAQs About Grape Juice Jelly
Q: Can I use bottled grape juice?
A: Yes! Pick 100% juice with no added sugar or flavors (like Welch’s).
Q: Can I substitute honey for sugar?
A: We don’t recommend it. Honey changes acidity and can cause runny jelly.
Q: Why didn’t my jelly set?
A: Usually wrong temps. Too low = runny; too high = rubbery. Use that thermometer!
Wrapping Up
This grape juice jelly recipe proves that 3 simple secrets—lemon, cinnamon, and butter—turn basic jelly into something extraordinary. It’s easy, affordable, and 100% real-food magic.
🌟 Ready to taste the difference?
Try it this weekend and share your gorgeous jars with #SecretsInJars!
Related Recipe :
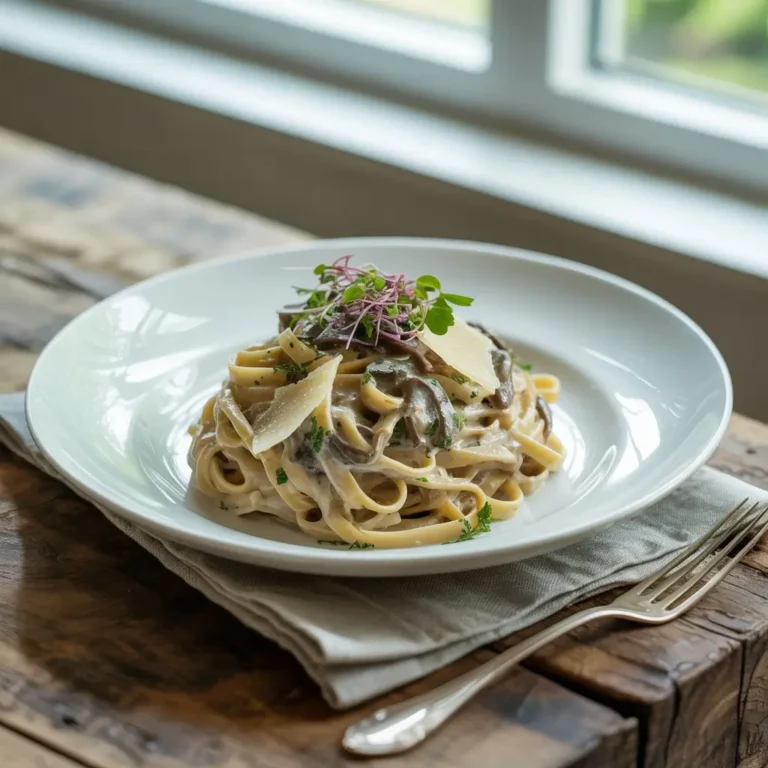
Mushroom Recipes: Why These 10 Are So Popular Right Now
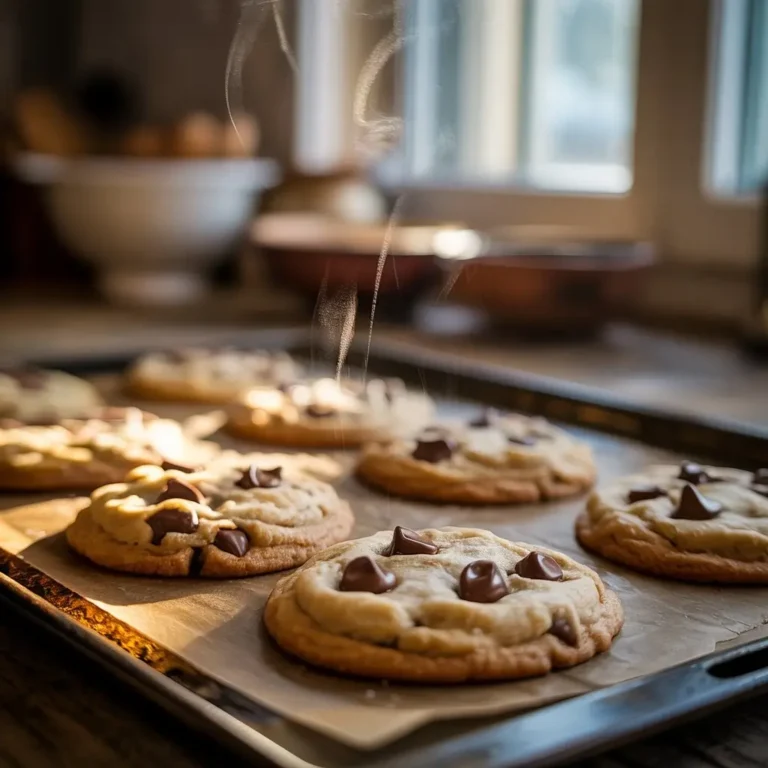
Chocolate Chip Cookie Recipe: 5 Reasons It’s the Best Ever

Glazed Donuts Recipe: 5 Reasons It’s the Best Homemade Treat
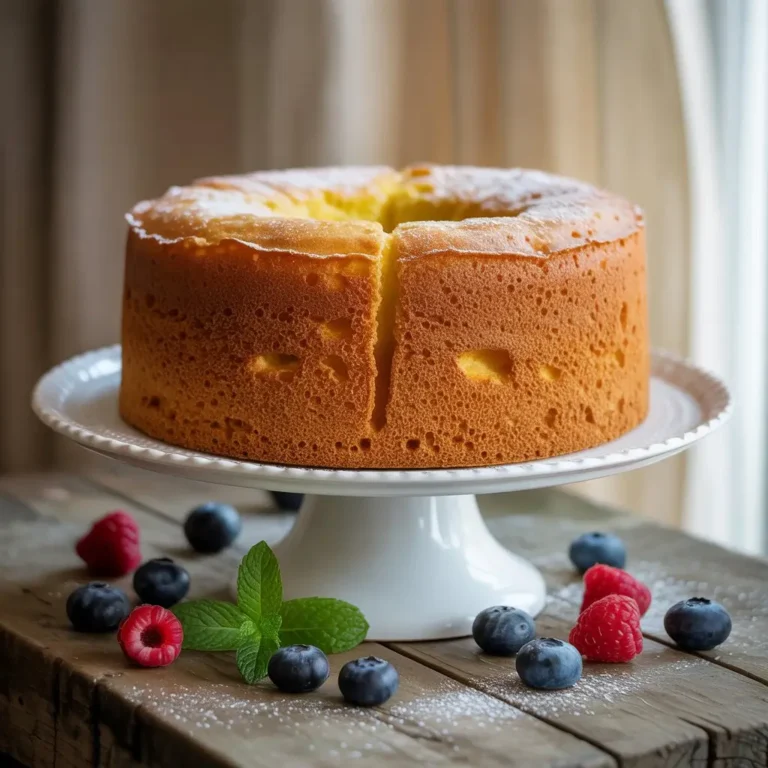
sponge Cake recipe : 5 Reasons It’s the Best Base for Any Cake
Chicken Breast and Rice Recipes: 7 One-Pan Dinners Ready in 30 Minutes